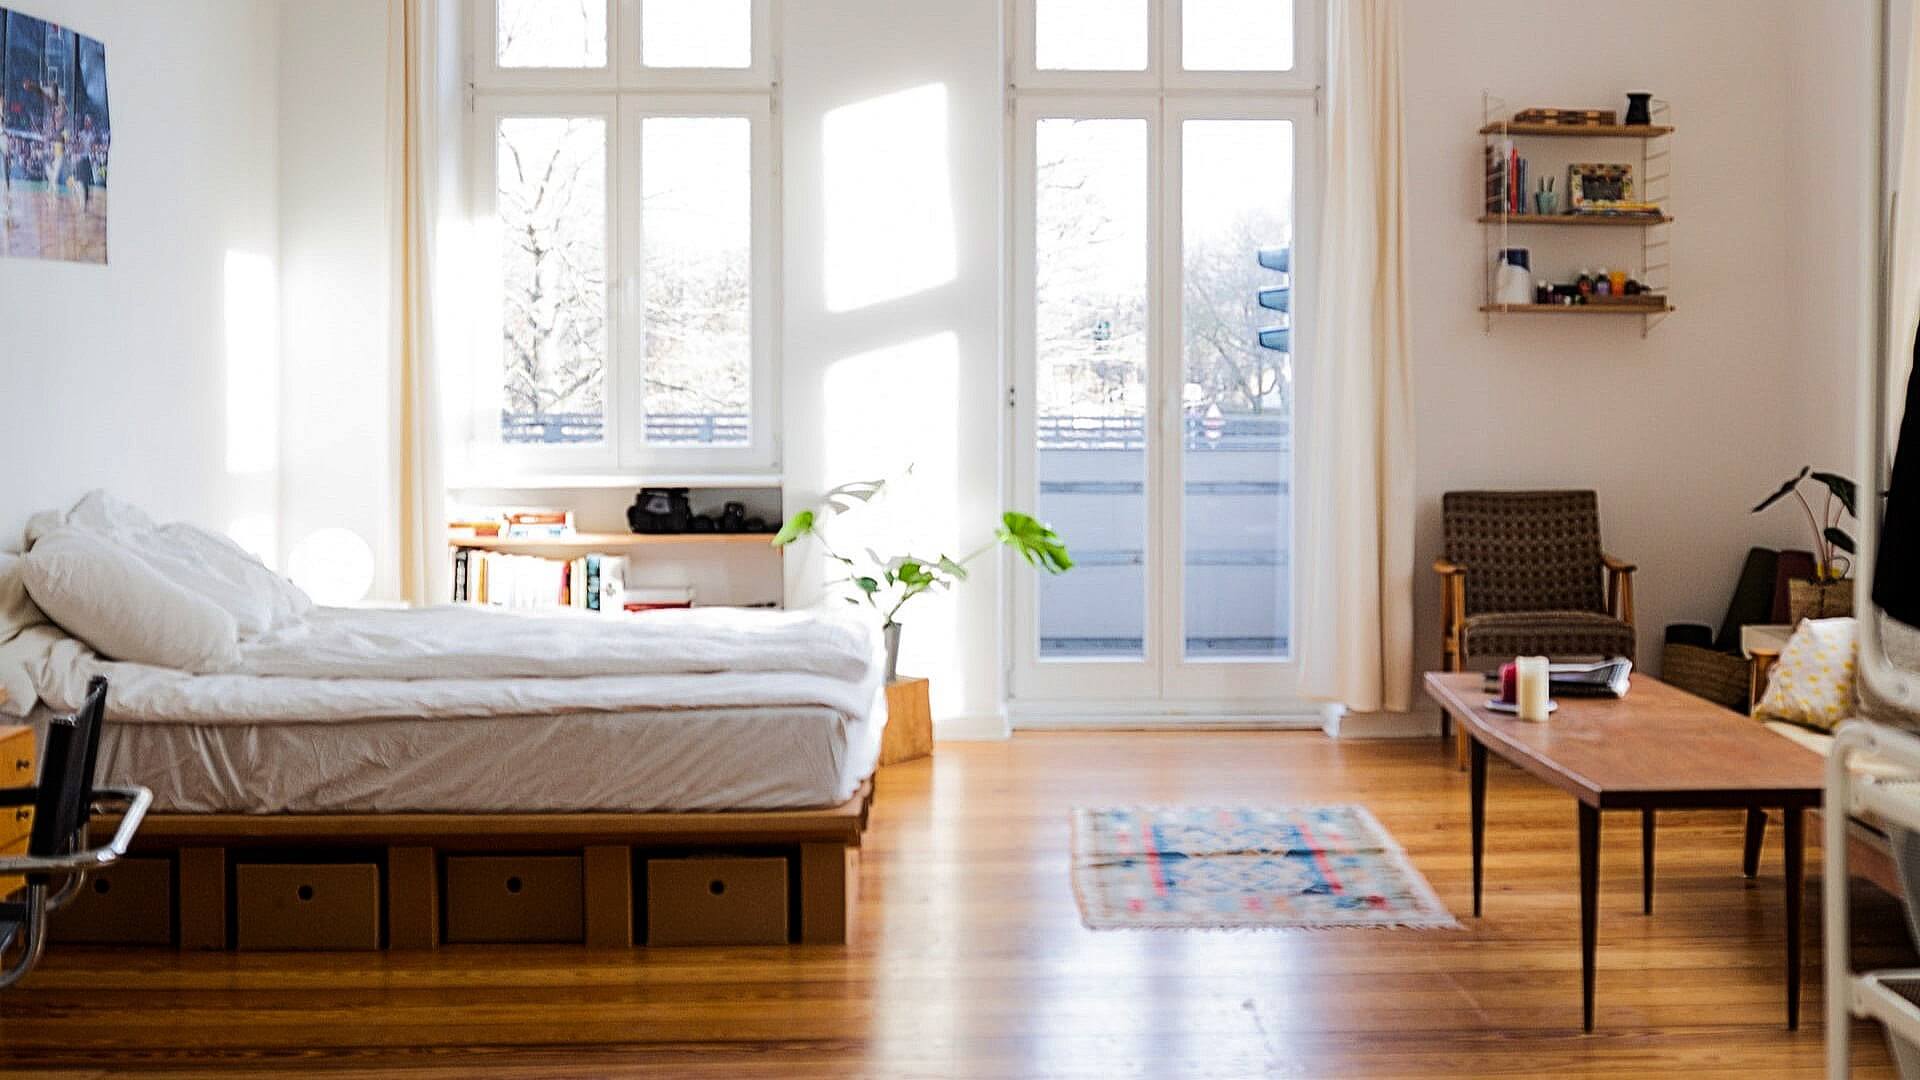
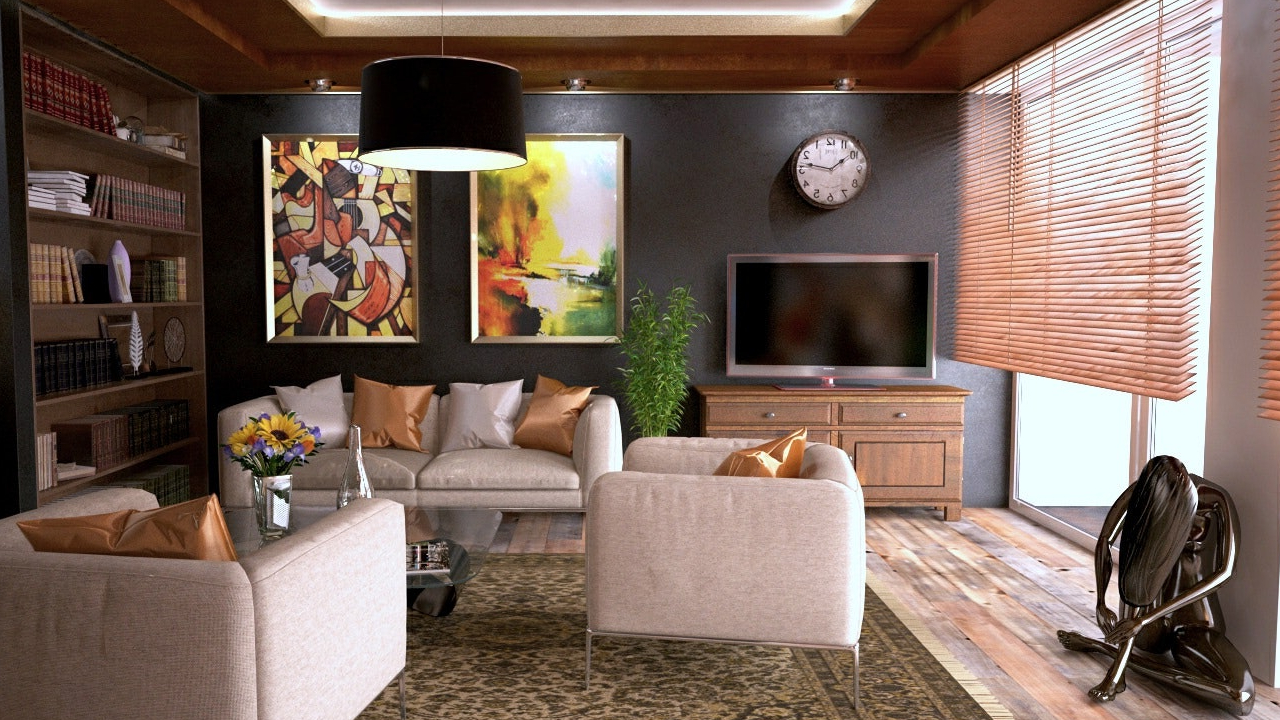
In an era where the concept of “less is more” has gained immense popularity, small spaces are no longer seen as limitations but as opportunities for creativity and efficient living. Whether you’re living in a tiny home or a compact urban apartment, there are countless innovative ways to make the most of every square inch. This article explores smart solutions and design hacks for maximizing small spaces, and transforming them into functional and stylish living environments.
INTERIOR DESIGN 101: MASTERING THE ESSENTIALS FOR BEGINNERS
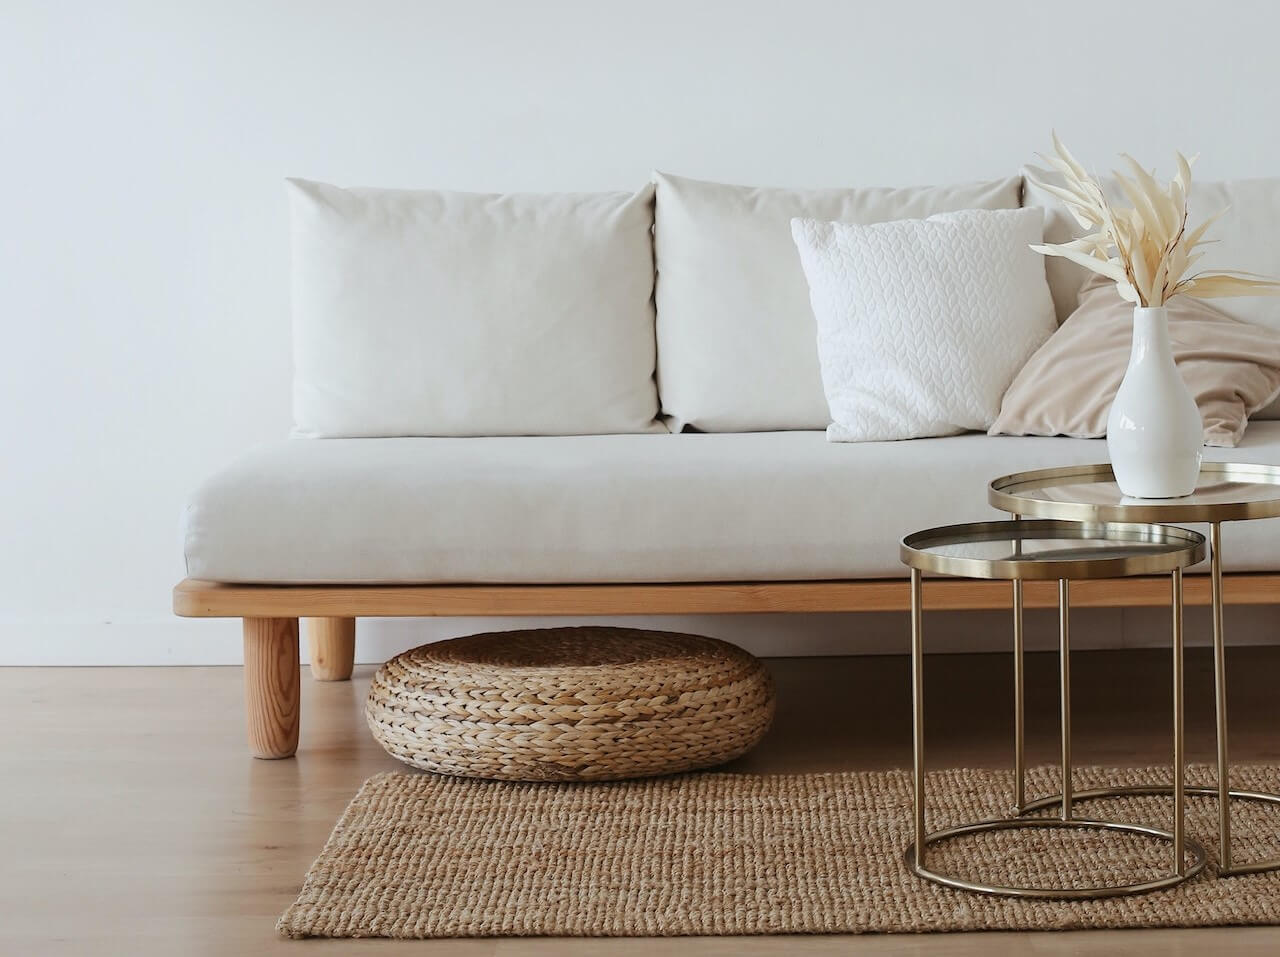
Welcome to the captivating world of interior design! Whether you’re a novice or a budding enthusiast, this article is your comprehensive guide to mastering the essentials of interior design. From understanding design principles to unleashing your creativity, we’ll walk you through the key tips and tricks that will empower you to transform any space into … Read moreINTERIOR DESIGN 101: MASTERING THE ESSENTIALS FOR BEGINNERS
BEST DECORATION ITEMS FOR YOUR BEDROOM
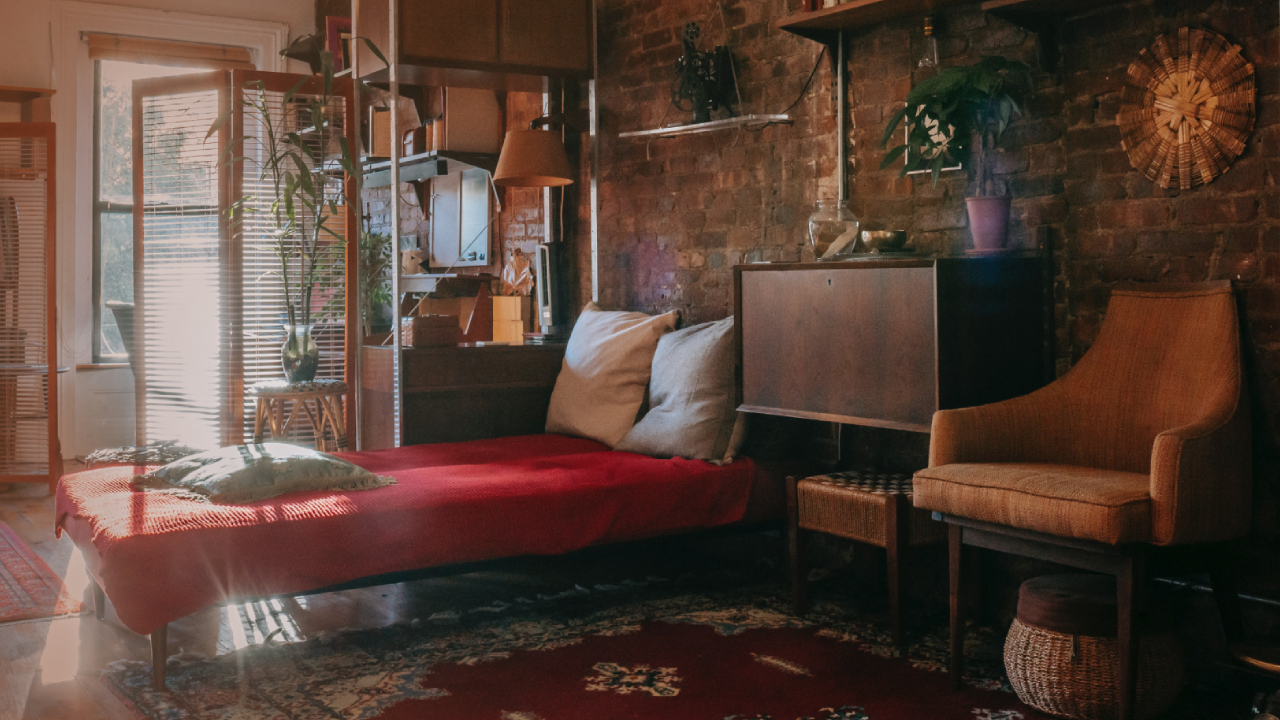
Decorating your bedroom is essential if you want it to look good and give you and your partner a pleasant experience when you get there. Your bedroom is one of the places in the house where you spend the most time, whether it’s watching movies, reading a good book, relaxing or enjoying a film bokep. It is therefore important that you think about how to decorate it to help you relax after a long day of work, but without putting aside the aesthetics!
INTERIOR DESIGN: PRINCIPLES YOU SHOULD KNOW
If you understand and master the principles of interior design and incorporate them within the overall layout of your home, you can take an active role in designing your own ideal house. Either way, having a well-planned and designed home makes it easier for you to enjoy your new place! These basic principles will change … Read moreINTERIOR DESIGN: PRINCIPLES YOU SHOULD KNOW
TOP REASONS TO HIRE INTERIOR DESIGNER
It is not difficult at all to really know what an interior designer is, however before starting it is good to be really clear about the concept. This professional specializes in transforming a space into an area that is decorated to your tastes, or to a certain set of specific requirements (getting the most from … Read moreTOP REASONS TO HIRE INTERIOR DESIGNER
WATERCOLOR DOTS WALL ART ON MINTED!
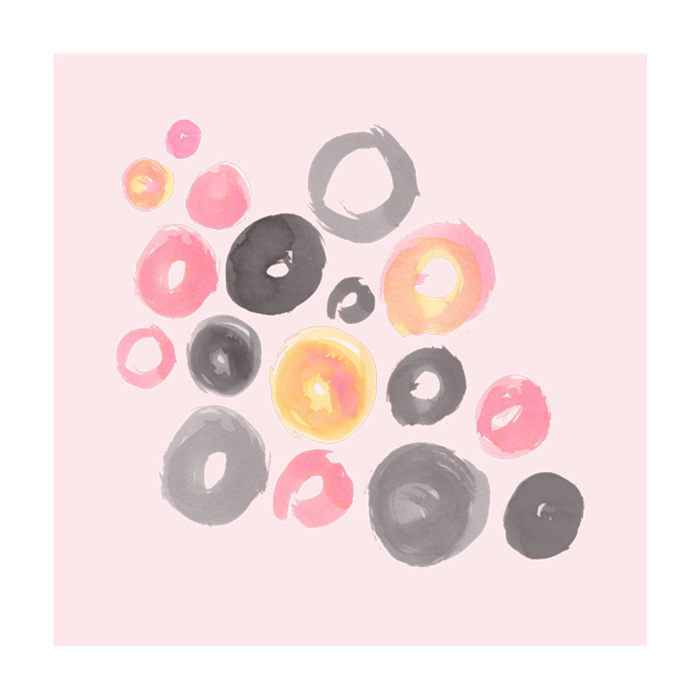
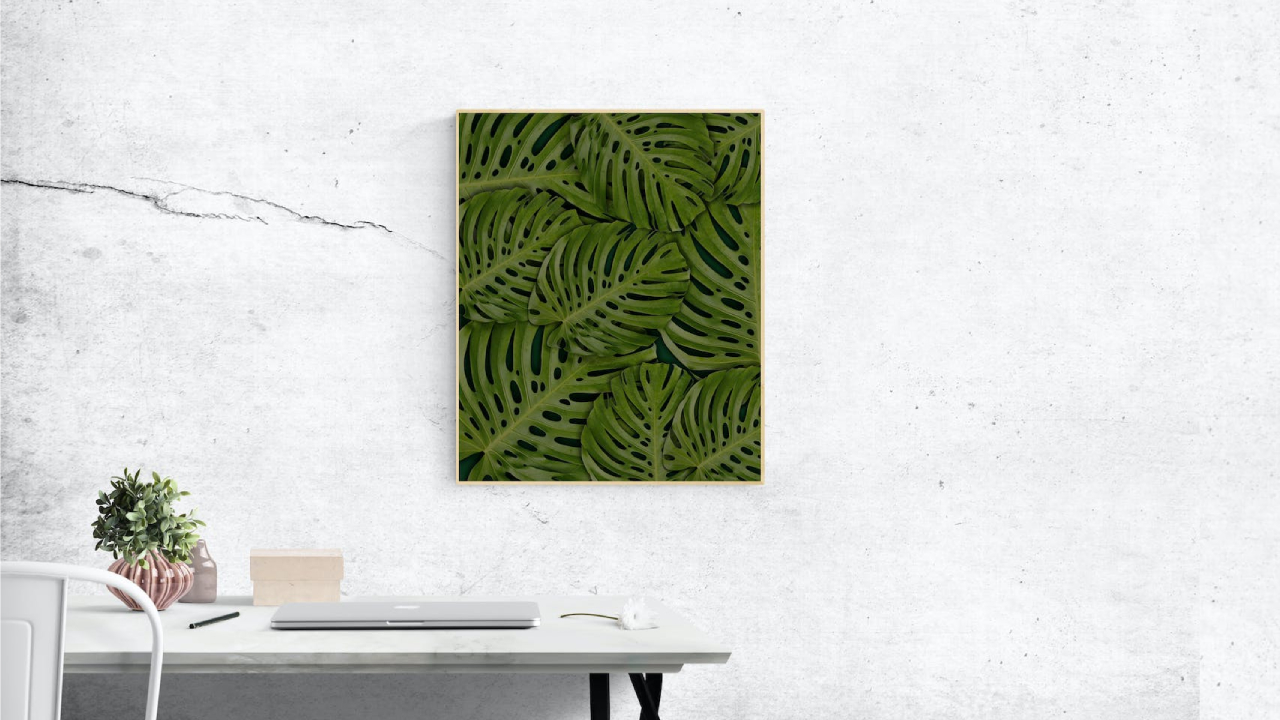
Minted is doing such great things will wall art these days. They have so many options available. Not only are there designs for every taste and every home/apartment/dorm room out there. But they also have size options that make the wall art affordable for absolutely everyone. I mean everyone (hello $22!) And if you want … Read moreWATERCOLOR DOTS WALL ART ON MINTED!
NEW HOME GOODS AVAILABLE ON MINTED
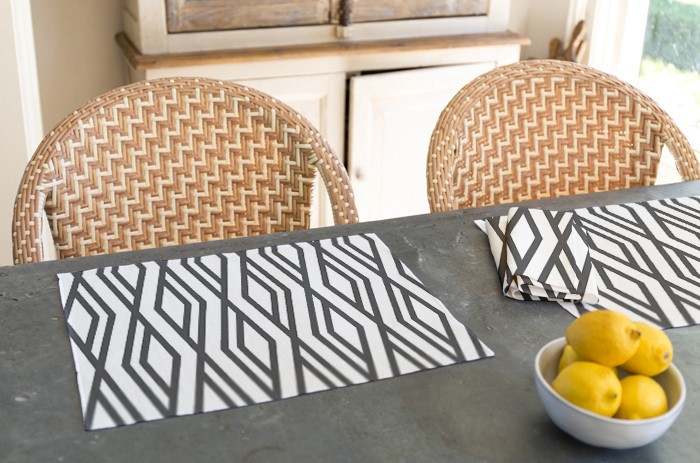
I have such BIG NEWS to share with you today! This is how I like to start off a new year, with brand spanking new products. I recently designed fabric for Minted and it is finally available for purchase. (YAY!) You can even choose the fabric style, the design and the colorway. Not only that, Minted has created a few home goods … Read moreNEW HOME GOODS AVAILABLE ON MINTED